I thought it would be fun to create a Christmas themed project this week using the oh so versatile Large Match boxes and Inserts, perfect as a piece of home decor but works equally well as a gifting idea as there’s plenty of room inside to place something special
I started with the large kit and a selection of Christmas themed minis. The matchbox kit so easily fits together and its held secure with pva glue.
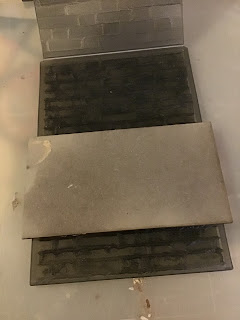
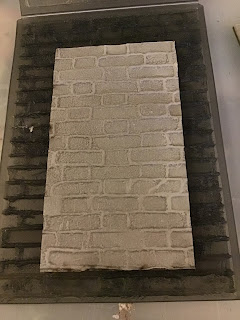
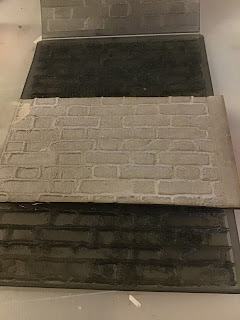
I very lightly spritzed three of my inserts with water and run them through my die cutting machine using Tim Holtz Texture fades 3D embossing folder to give a brickwork effect. This is one big added advantage of using Tando greyboard over MDF all the pieces can be embossed
I positioned two vertically ad one horizontally just for a bit of variation and added interest.
I then went on to base coat all surfaces with Decoart Americana Timeless Chalk paint ready to mount my paper
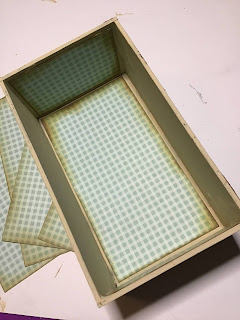
I cut panels of patterned paper a quarter of an inch smaller that all my surfaces and inked all edges with walnut distress oxide ink, to give an aged feel and them adhered my panels to each of the outer sleeve sides and the inside and outside of the drawer
I also inked the edges of the sleeve, drawer and all inserts
I used a the walnut distress oxide on a sponge blender lightly over the brickwork to bring out the texture
I picked a selection of Christmas minis, thinking carefully about which ones i wanted on insert, i wanted all the cards different but with a connected colour theme to make a cohesive set, so all were painted in the same way, i based coated with timeless, adding touches of Treasure and turquoise media shimmer mist,when dry i added a little structure paste to give texture and the appearance if snow and sprinkled with a little glitter for some extra sparkle!!
added some sand paste for snow before adding my elements
Small pieces of abaca added more texture and a rustic feel behind my minis
stickles glitter glue was then added here and there for yet more bling
I even embossed my flourish plaque before adding my candle minis
I then glued several of the stars together to create a piece thick enough to use as A drawer pull
The top of the matchbox was finished off with a matching tag for the recipients name and the some stars painted in the same

The addition of rough twine extends the rustic feel and is easily wrapped round and secured with a simple knot

And finally here is the finished collection all ready to gift to someone special x x
I used


1 comment:
Thank you very much for the useful information regarding the glueing of these matchboxes. I made the comment on Facebook about my matchbox disasters, and you kindly advised me on the best sticky to use. I ordered the Seawhite PVA from Tando, used it today on the matchbox I had left and it all went perfectly! So flushed with success I ordered some more matchboxes. Thank you very much.
Post a Comment